
Hatching chicks is an exciting and rewarding experience for any homesteader. Whether you’re raising chickens for eggs, meat, or as companions for your homestead, learning how to hatch your own chicks is a valuable skill.
There are two primary methods: allowing a broody hen to hatch the eggs naturally or using an incubator. Each method has its own benefits and challenges, and in this guide, we will explore both in detail to help you decide which is best for your situation.
This article may contain affiliate links. Please see our disclosure policy for more details.
Understanding Fertile Eggs
Before you begin the hatching process, you need to ensure you have fertile eggs. Here’s what you need to know:
- Do you need a rooster? Yes, for fertilized eggs, you must have a rooster in your flock.
- How to tell if an egg is fertile? You won’t know for sure until you candle the eggs after a few days, but fertile eggs often show a small white “bullseye” on the yolk when cracked open.
- Collecting and storing hatching eggs: Store eggs at room temperature (50-60°F) with the pointy end down and turn them at least twice a day. Use within 7-10 days for the best hatch rates.
Natural Hatching with a Broody Hen
If you have a broody hen, she can do most of the work for you. Broody hens instinctively sit on their eggs, regulate temperature and humidity, and care for the chicks once they hatch.
Signs of a Broody Hen
- Stays in the nest box most of the day
- Becomes territorial and may peck or growl when approached
- Plucks feathers from her chest to provide warmth to the eggs
- Fluffs up and makes clucking sounds
How to Set Up a Nest for a Broody Hen
- Choose a quiet location away from the rest of the flock.
- Use a safe, enclosed nest box filled with clean bedding such as straw or pine shavings.
- Mark the eggs you want her to hatch and remove any extra eggs daily.
- Provide food and water nearby so she doesn’t have to travel far.
Caring for a Broody Hen
- She will naturally leave the nest once or twice a day to eat, drink, and relieve herself.
- Ensure she has access to high-protein feed to maintain her health.
- Let her do the work! Once the chicks hatch, she will care for them.
Pros and Cons of Natural Hatching
Pros:
- Less work for you
- Hen keeps chicks warm and teaches them survival skills
- More natural and stress-free for the chicks
Cons:
- You need a naturally broody hen, which not all breeds have
- Lower hatch rates compared to an incubator
- Risk of eggs breaking or being abandoned
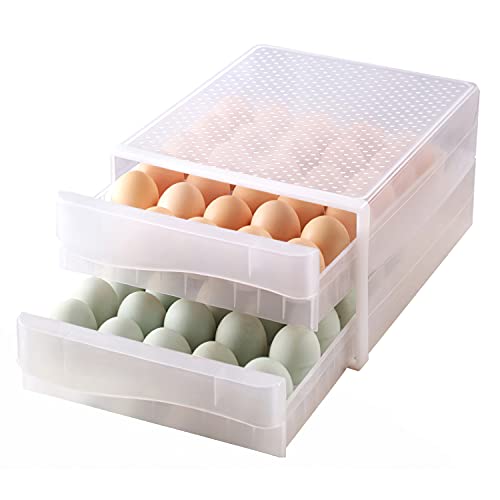
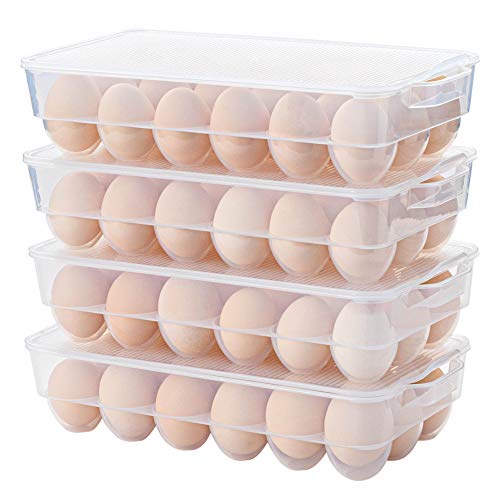
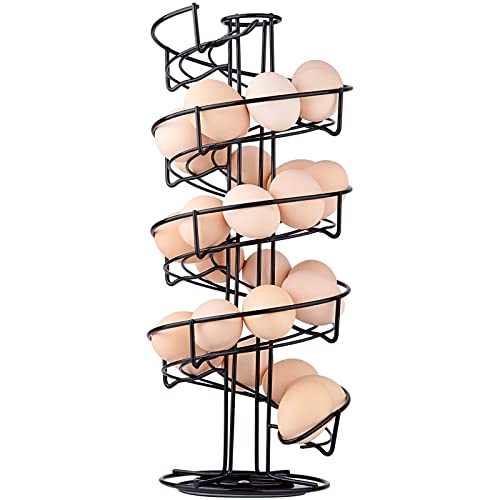
Egg Holder for Refrigerator, 2 Packs Egg Holder BPA Free Egg Storage Carrier Deviled Egg with Lid Egg Container for Refrigerator Egg Organizer Keep Fresh Egg Storage Container in Refrigerator Toresano Egg Holder for Refrigerator, THIPOTEN 60 Grid Eggs Storage Container for Refrigerator, Perfect Household Egg Organizer for a Hobby FarmClear Plastic Egg Holder for Refrigerator, Stackable Egg Storage Trays With Lid & Handles, Plastic Egg Box Carrier 4 Pack, BPA-Free Egg Storage Container for 18 EggsEgg Holder For Refrigerator – Auto Rolling Egg Organizer 3 Layer – Stacked Egg Tray Fridge Egg Storage Container – Hold 24 EggsToplife Spiral Design Metal Egg Skelter Dispenser Rack, Storage Display Rack, BlackRolling Egg Holder Dispenser,Refrigerator Automatically Rolling Egg Storage Container, 2 Tier Rolling Egg Dispenser, Space Saving Egg Tray For Refrigerator with 2 egg mold(1)



Hatching Chicks with an Incubator
If you don’t have a broody hen or want more control over the hatching process, an incubator is a great option.
Choosing an Incubator
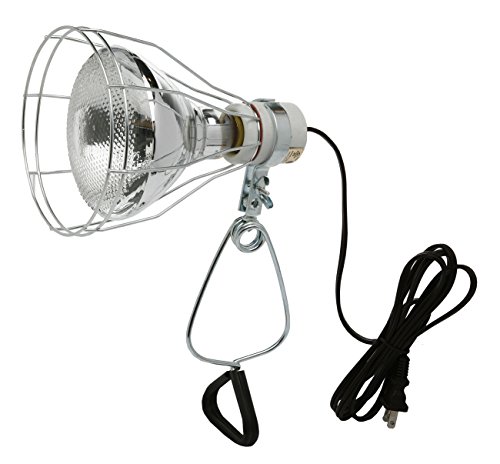
Incubators come in many sizes and designs, from basic still-air models to advanced, fully automated versions. Look for one with:
- Temperature and humidity controls
- Automatic egg turning (or be prepared to turn eggs by hand)
- Good ventilation


Setting Up Your Incubator
- Place the incubator in a stable environment away from direct sunlight and drafts.
- Set the temperature to 99.5°F (37.5°C) for forced-air incubators or 101-102°F for still-air incubators.
- Maintain humidity levels at 50-55% for the first 18 days.
- Turn eggs 3-5 times daily if not using an automatic turner.
Candling the Eggs
Candling allows you to check for development and remove non-viable eggs. Use a bright flashlight or a specialized candler.
- Day 7-10: Look for veins and a dark embryo.
- Day 14: The embryo should be larger, and movement may be visible.
- Day 18: Most of the egg should be dark with an air cell at one end.
Lockdown Period (Days 18-21)
- Stop turning the eggs.
- Increase humidity to 65-75%.
- Avoid opening the incubator to maintain humidity.
Hatch Day (Day 21)
Chicks will begin to pip (break through the shell) and hatch within 24-48 hours. Let them dry off in the incubator before moving them to a brooder.
Pros and Cons of Incubator Hatching
Pros:
- Higher hatch rates with proper care
- Can hatch chicks year-round
- Control over temperature and humidity
Cons:
- Requires more time and effort
- Chicks won’t have a mother to teach them natural behaviors
- Equipment costs money upfront
Frequently Asked Questions
Can I mix natural and incubator hatching?
Yes! You can hatch chicks in an incubator and give them to a broody hen to raise if she is willing to accept them.
Why didn’t my eggs hatch?
There are many reasons eggs fail to hatch, including infertility, incorrect temperature or humidity, and handling errors.
How long can a chick stay in the incubator after hatching?
Chicks can stay in the incubator for up to 24 hours while they dry and gain strength before moving to a brooder.
Should I help a chick hatch if it’s struggling?
In most cases, no. Helping too soon can cause bleeding or deformities. If a chick has been stuck for more than 24 hours, research proper techniques before assisting.
Do I need to vaccinate or medicate my chicks?
This depends on your management style. Some hatcheries offer vaccines, but a strong biosecurity plan and proper nutrition can help keep chicks healthy.
Conclusion
Hatching your own chicks, whether naturally under a broody hen or with an incubator, is an exciting way to expand your flock and gain more control over your homestead poultry. Each method has its advantages and challenges, so choosing the right one depends on your resources, time commitment, and flock goals. With proper preparation and care, you can enjoy the rewarding experience of watching new life hatch and thrive on your homestead.
Have you tried hatching chicks before? Share your experiences and questions in the comments below!


Charlene has been dabbling in and learning about the homesteading lifestyle for almost 20 years. She recently started a real-world homestead with her extended family and is excited to share 20+ years of knowledge and experience with the world!
While she certainly doesn't know everything about homesteading and is learning more every day, she is excited to learn and grow along with YOU!
Charlene blogs about about homesteading at https://secretlifeofhomesteaders.com/.