
As the cold grip of winter begins to loosen and the first signs of spring start to appear, it’s time for homesteaders to start thinking about preparing their chicken coops for the new season. A clean, fresh, and well-maintained coop not only promotes the health and productivity of your flock but also sets the stage for a successful spring and summer of egg-laying and growth.
Here are some late winter cleaning and preparation tips to help you get your chicken coop in top shape for spring.
This article may contain affiliate links. Please see our disclosure policy for more details.
Why Late Winter Is the Perfect Time to Clean
Late winter is an ideal time for coop cleaning because your chickens have likely spent more time indoors due to cold weather. This prolonged confinement can lead to an accumulation of bedding, manure, and dust.
Addressing these issues now, before the warmer temperatures of spring arrive, helps prevent the growth of harmful bacteria, ammonia buildup, and pest infestations. Plus, you’ll give your flock a clean, healthy environment just as their activity levels and egg production are about to ramp up.
Step-by-Step Guide to Late Winter Coop Cleaning
1. Prepare Your Tools and Supplies
Gather everything you need before starting the cleaning process. Essential tools and supplies include:
- A sturdy rake or shovel
- Scrubbing brushes or sponges
- Buckets of warm water
- A mild disinfectant safe for poultry (like vinegar or a commercial coop cleaner)
- Protective gloves and a dust mask
- Fresh bedding material (straw, wood shavings, or hemp)
2. Temporarily Relocate Your Chickens
Move your flock to a temporary shelter or enclosed area while you clean. This ensures their safety and prevents them from getting in the way of your work. Make sure their temporary space has access to food, water, and shelter from the elements.
3. Remove Old Bedding and Waste
Start by removing all old bedding, manure, and other debris from the coop. Pay special attention to corners and under perches, where waste tends to accumulate. Use a shovel or rake to scrape away compacted material.
4. Dust and Sweep
Dust can harbor mites and other pests, so it’s important to thoroughly sweep all surfaces, including walls, nesting boxes, and roosts. If your coop has wire mesh, check it for buildup and clean it with a brush.
5. Wash and Disinfect
Using warm water and a mild disinfectant, scrub down all surfaces, including roosts, nesting boxes, and walls. Rinse thoroughly to remove any residue. Allow everything to dry completely before proceeding to the next step to prevent mold or mildew from developing.
6. Inspect for Repairs
While the coop is empty, take the time to inspect it for any signs of damage or wear. Look for:
- Loose or broken boards
- Gaps or holes that could allow predators or drafts
- Signs of rust or corrosion on hardware
- Weak spots in the roof or walls Address any issues immediately to ensure your coop is safe and secure.
7. Replace Bedding
Once the coop is clean and dry, add a fresh layer of bedding. Choose a material that is absorbent and easy to replace, such as straw, pine shavings, or hemp. Spread it evenly across the floor and in nesting boxes.





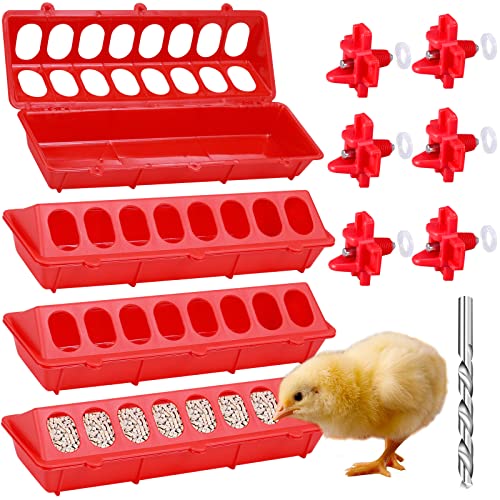
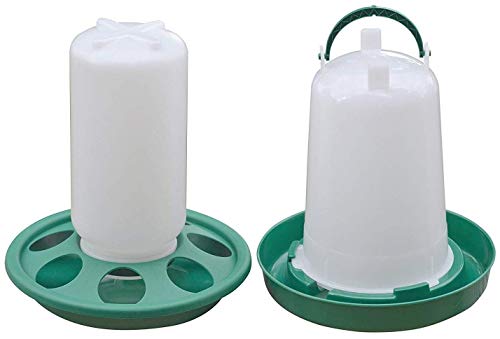
8. Refresh Feeders and Waterers
Thoroughly clean and disinfect your chickens’ feeders and waterers. Refill them with fresh feed and clean water before returning your flock to the coop.
Additional Spring Preparation Tips
Ventilation Check
As temperatures rise, proper ventilation becomes crucial to prevent overheating and maintain air quality. Ensure that vents are clear and functioning, and consider adding additional ventilation if needed.
Pest Prevention
Late winter is an excellent time to take proactive measures against pests. Sprinkle diatomaceous earth in nesting boxes and around the coop to deter mites and lice. Consider installing predator-proof barriers or tightening existing ones. If you don’t already have a livestock guardian dog, this is a great time to look for a new LGD puppy.
And on that note, this is the ideal time to add hanging fly traps to your homestead. Staying on top of the flys in the Spring will keep you ahead of the when Summer hits. Trust me, you don’t want to fly and larvae to get away from you.
Plan for Spring Growth
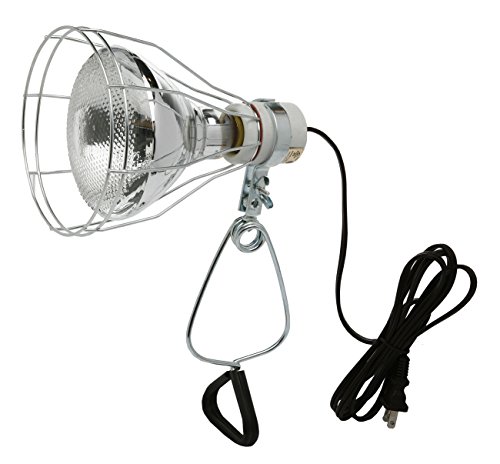
If you’re planning to add new chicks to your flock, prepare a brooder and consider expanding your coop or adding extra nesting boxes to accommodate the newcomers.


Benefits of a Clean and Prepared Coop
A clean and well-maintained coop provides numerous benefits for your flock, including:
- Improved respiratory health due to reduced dust and ammonia levels
- Lower risk of disease and pest infestations
- Increased comfort and productivity, especially during peak egg-laying seasons
It is important to keep your chickens healthy and happy and staying on top of that muddy, stinky spring mess is a critical part of this.
Conclusion
Preparing your chicken coop for spring with a thorough late-winter cleaning is an essential task for any homesteader. By following these steps and taking the time to inspect, clean, and repair your coop, you’ll set your flock up for a healthy and productive season. Start now, and enjoy the rewards of happy chickens and fresh eggs all spring and summer long!


Charlene has been dabbling in and learning about the homesteading lifestyle for almost 20 years. She recently started a real-world homestead with her extended family and is excited to share 20+ years of knowledge and experience with the world!
While she certainly doesn't know everything about homesteading and is learning more every day, she is excited to learn and grow along with YOU!
Charlene blogs about about homesteading at https://secretlifeofhomesteaders.com/.